
My Watercolor Process
Posted by Helen Wang on

Hellooooo! I do not know how to write a blog post so I'm just going to wing it haha. I thought it would be fun to take progress photos while I painted this cozy(?) scenery. I honestly could not remember the last time I just watched a movie without working on something at the same time...the feeling of guilt from doing nothing is pretty strong haha. But being asked to stay at home--which cut down on my commute time to school--allowed me to actually enjoy a chill few hours. Feels good!

Materials
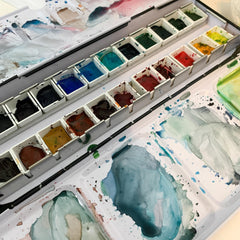
- Paints: Winsor & Newton watercolours, Daniel Smith watercolors
- Brush: Pentel Waterbrush Fine (this one is very frayed yuckkk)
- Pencils: Prismacolor Col-Erase
- Sketchbook: I can't remember the brand, but it's not a very nice paper anyways haha. I recommend Arches or Strathmore
Sketching

I like to use coloured pencils to sketch because I think it's more interesting. Here I'm using a pink pencil to get down the basic shapes! The best part is, coloured pencils do not smudge (unlike graphite) so you don't end up with a muddy drawing.
I also make about a dozen thumbnail sketches on scrap paper to get the composition right, but that's not shown here hehe.
Base Colours


Yayy colouring is my favourite part. It's always scary to put down the very first blob of colour though. I generally start with the easy areas like plants and objects! I'm a huge fan of wet-on-wet techniques so I try to get as much of that in before the paint dries. To create a more realistic look, I don't just use one shade of blue and make it lighter or darker. Always drop-in colours that you pick up from its shadows and highlights.
Add Details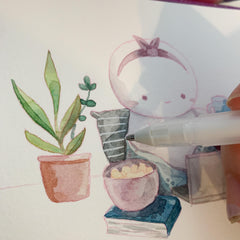 My favouriteeee part is obsessing over details. This painting doesn't have much actually but oh boy, I can spend hours adding highlights on a larger piece. For this one, I just used my Sakura Gelly Roll in white to add stripes to the pillow, polka dots to the mug, and a heart on the laptop. You can also use masking fluid for this but I don't have any :(
Redo the Lines
 When all of the painting is done, I go back in with my pencils to darken up the lines. Here I use some purple pencils, blues, pinks and blacks to add some depth. Overall it makes the illustration sharper. Of course for realism like painting portraits of landscapes, I don't do this as nature isn't finelined?!
Done
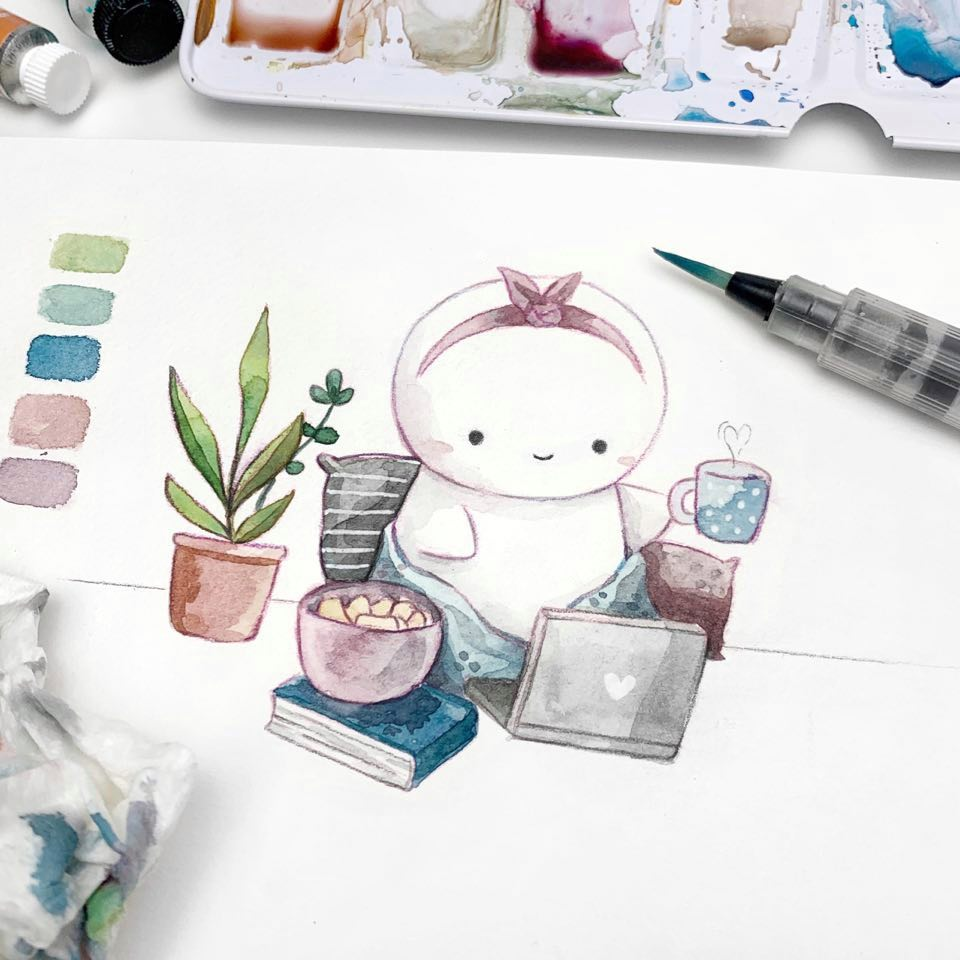
 Anddd we're done. I like to pick out some of the main colours used for each piece and make a colour palette off to the side. This drawing took about 1.5 hours to do so it was fairly quick! Let me know if you would like me to make more of these~


Comments
Omg your watercoloring is so gorgeous! Are you good at everything that you do!? I’m jealous haha. But really, this is beautiful and I’d love to see more blogs in the future, it was very /fun and also helpful, I learned some tricks like using the colored pencil for outlining that I didn’t know before!
I’d love to buy a print of this watercolor if you ever some for sale!
This is amazing, Helen!
I meant to come running over here when you mentioned a blog post and then got distracted by air, or something (it happens), and forgot. I’d love to see more blog posts! Less to edit than a video. ;) I loved it. And I echo the other comments about how you make this look so simple and easy to do. I just end up with flat blobby paintings! love yooouuu!
I just discovered you via YouTube and I must say, I LOVE your work! You’re amazing! Please please post more blog posts.
WOW!!! Your talent is incredible😍 your creations are just stunning… love this image so much… it’s extremely cute… hoping it will be available for purchase some day.. it would look beautiful as a journaling card and as stickers🥰 Congrats on your first blog..it’s amazing 😍
WOW!!! Your talent is incredible😍 your creations are just stunning… love this image so much… it’s extremely cute… hoping it will be available for purchase some day.. it would look beautiful as a journaling card and as stickers🥰 Congrats on your first blog..it’s amazing 😍
I love it! Your first blog post is amazing!!
You make this look so simple, and do-able! Hmmm all of a sudden I want to get a colored mechanical pencil from JetPens. Time to go look for some doodling inspiration/instructions.
This had great details, and as always, it was very cute. Your voice comes out very well in your blog – congrats on your first post!